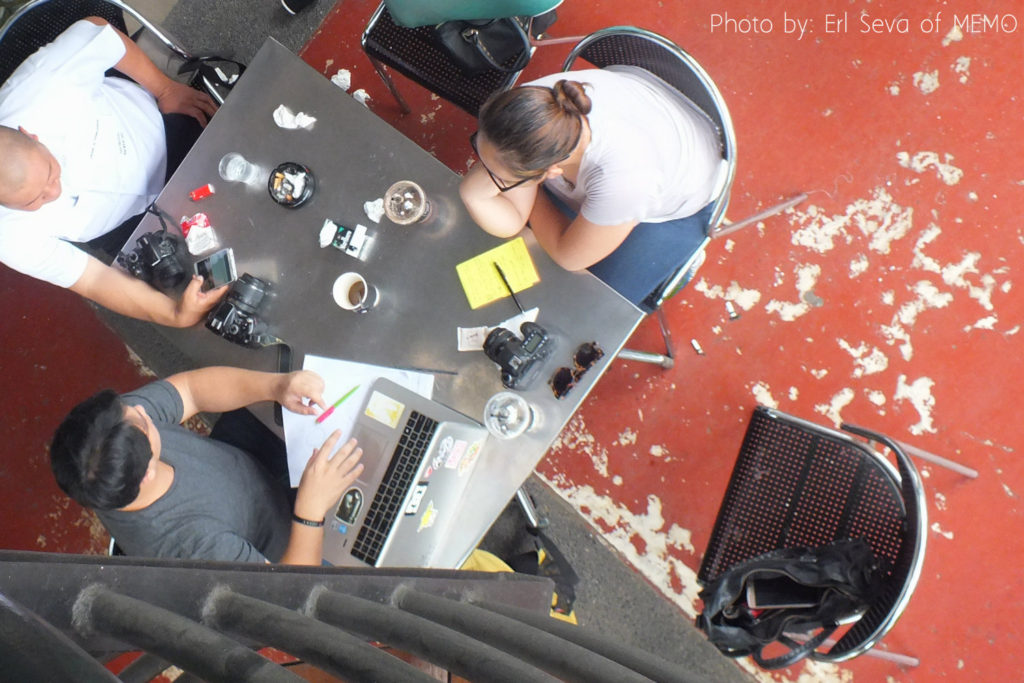
This year, because of my blog, I found it necessary to buy better equipment for photo taking. So, I bought a pre-loved DSLR camera (Fujifilm hs20 exr). The problem was, I was mostly using it in Auto setting because I didn’t know how to tinker with the manual settings to control how the picture comes out. It was then that I expressed my plight on social media (like any good netizen would do) which birthed a collaborative photo class to learn camera basics with Uba Laba Ilonggowear, Ms Erl of #MEMO and, teacher, JR Seva Burgos. Here are a couple of lessons I learned:
Lesson #1: Learn how to navigate through your camera.
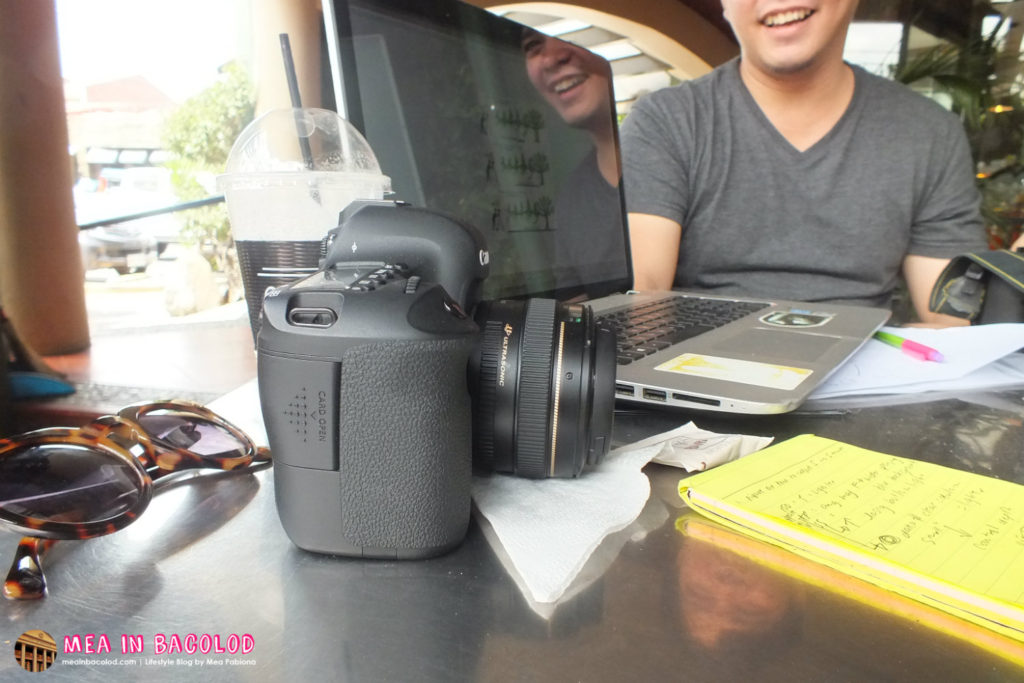
Test Shot – 1
Before learning anything, you have to know where everything is. This also means that you have to know how to adjust a setting. I say this because on my camera, you have to push a certain button first to choose a setting to adjust. You have to hold the button down, in some cases, before you move the knob.
Lesson #2: Know what each setting does.
There are different settings that you can find on your camera. Mine has pre-settings which do most of the work and a manual mode. Before I attended the camera basics class, I went ahead and read the online manual of my camera so I know what each settings does. This made it easier for me to understand how the manual mode works because I read on the meanings of technical terms I came across.
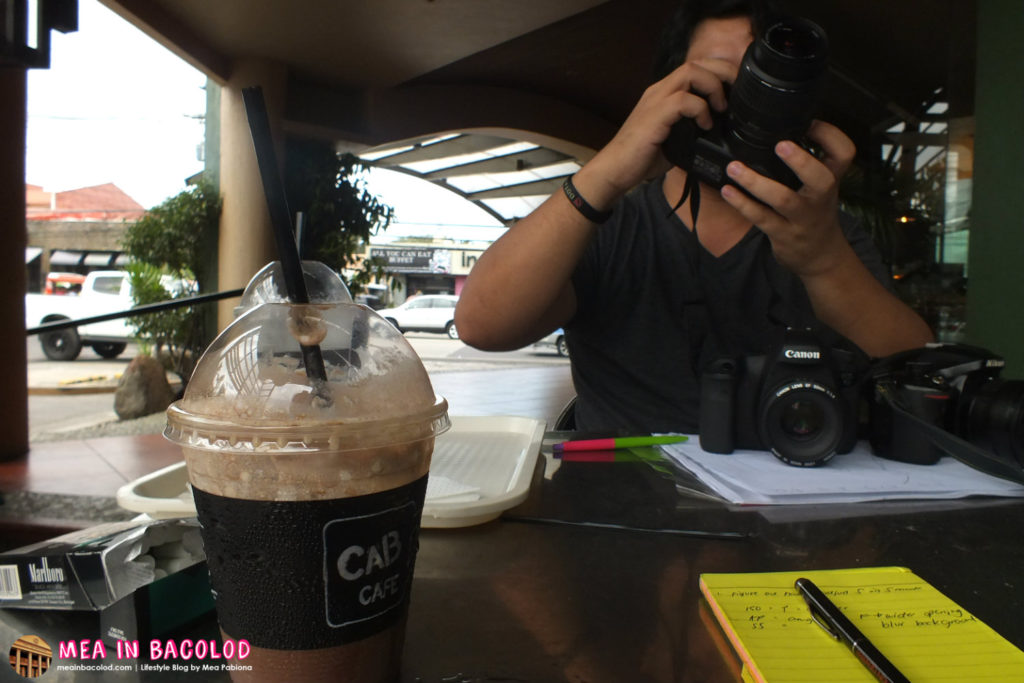
Test Shot – 2, I know it’s dulom, but practice makes perfect.
Lesson #3: The settings under the manual mode is like the circle of life.
If you watch Disney movies a lot, you’ll know exactly which movie “the circle of life” is in. I say this because the different settings – ISO, aperture, shutter speed – are all connected. If you adjust one setting below it’s standard level, you’ll get a totally different picture. So, you have to know how to make those small adjustments.
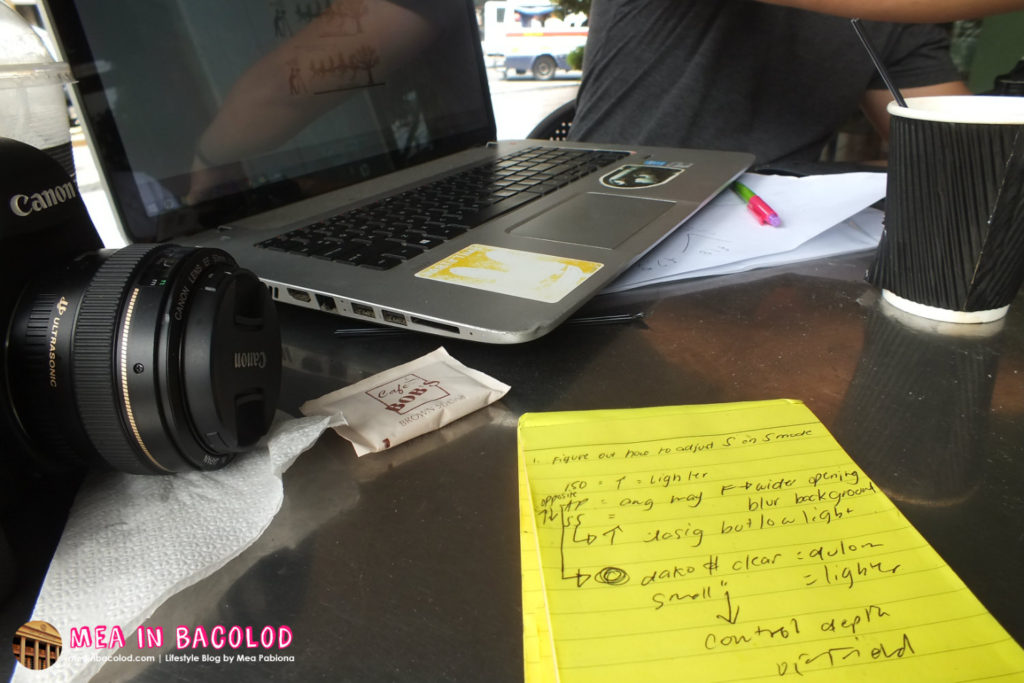
Test Shot – 3, I was probably trying to try out the blur effect JR was talking about.
Here’s a great video to learn how the manual settings relate to each other: Video by Tony Northtrup. If you follow the series, it’ll also be like taking a camera basics class so it’s really a good idea to check out the video.
Lesson #4: The lens is the key to getting that blurry, dramatic effect.
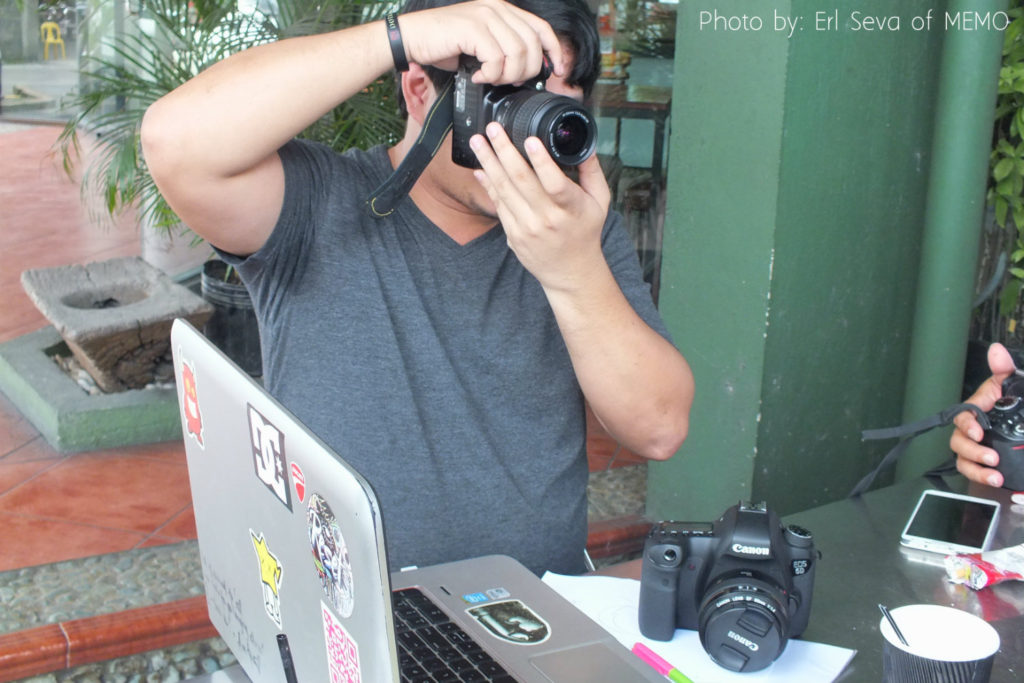
I love how JR takes his photos so I asked how in the world he does the “blurring the background” effect with the subject sharply defined. He told me that it was because of the lens he was using. You can get creative with the variety of lenses out in the market.
Lesson #5: Don’t forget the flash.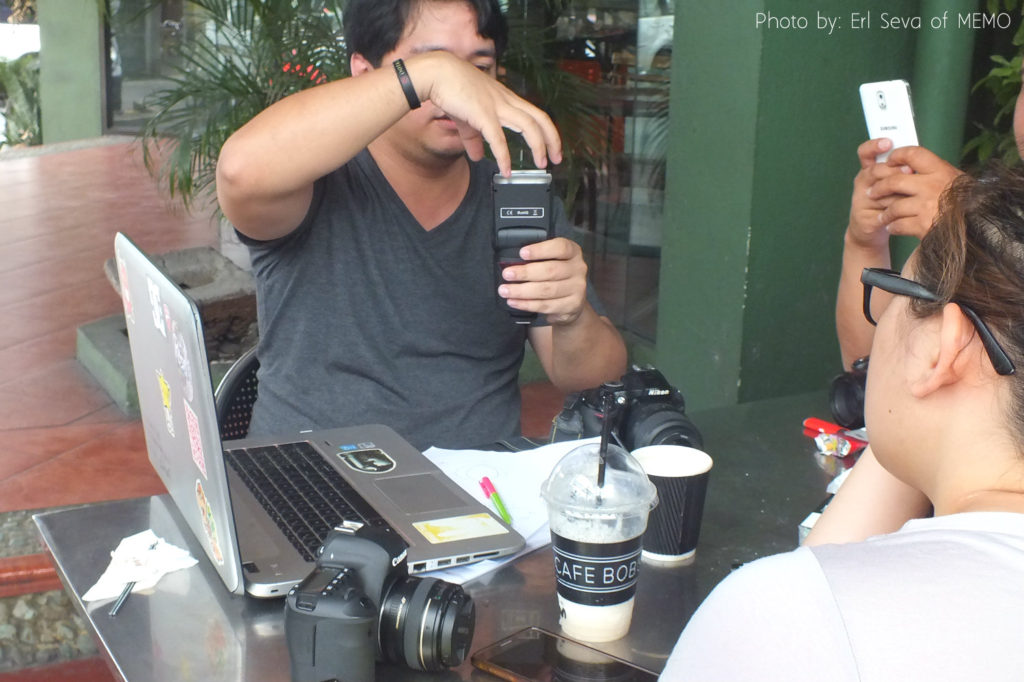
The flash, sometimes, also plays an important in making pictures sharp. What I found out with my camera is I could actually adjust the amount of flash my camera gives off. I’m sure other cameras can do this too.
Lesson #6: Last, but not the least is your eye for beauty.
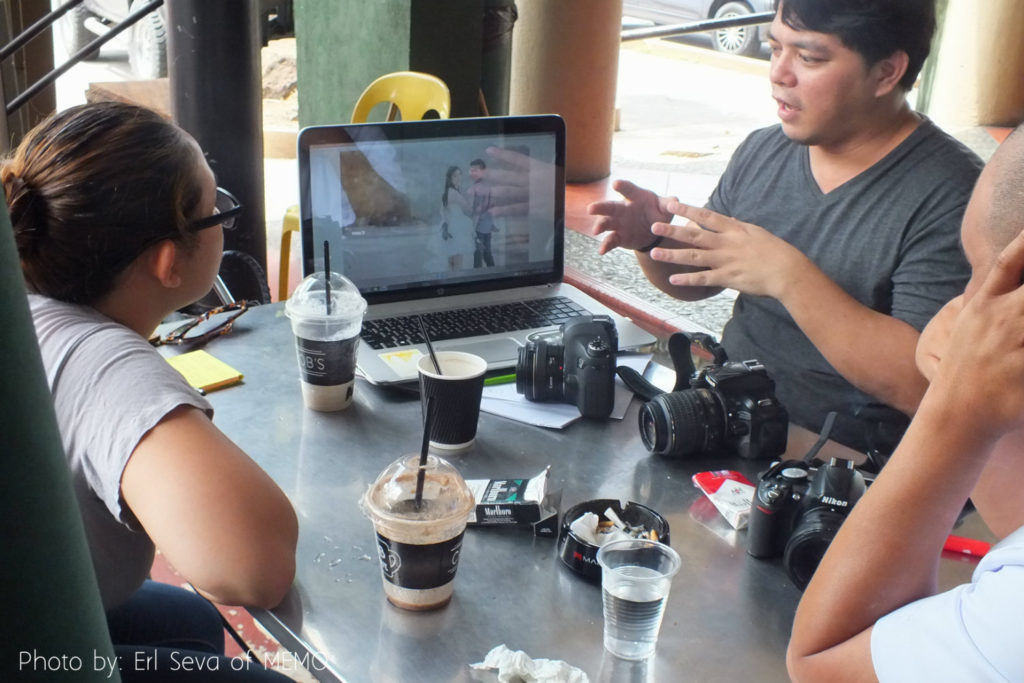
JR says that how you look at things and what you see as beautiful can’t be taught. He showed a diagram during class with ISO, shutter speed and aperture. The last element of which is (I forgot the term he used) your eye for beauty which is different with every photographer.
I can say that my photos are slowly improving. I think I still have a lot of things to learn and experience, but at least the photos on my blog don’t suck as much anymore because of this camera basics class.
- Thank you to JR Seva Burgos for teaching the class! You can actually hire him as a photographer. His rate is very competitive, just so you know. You may contact him here.
- Another Thank you to Ms Erl of #Memo for fixing up the class for me. She’s a makeup artist and a stylist. See her works of beauty here.
- And, lastly, to Sir Frank of Uba Laba Ilonggowear. Thank you for letting me join and for driving us to CRIB right after the class. Check out Uba Laba’s Ilonggowear designs (find them on FB here):
[easy_image_gallery]





Post your comments